Yesterday afternoon I made time to make up some invitations for Adelaide's second birthday party which we will be hosting next Sunday. (Her actual birthday is February 13th). To me, Addie's birthday is the most joyous and special of all days of the year. It means so much, not only as the day my daughter - who truly feel is my soul mate - came to be with me, but also as a huge milestone in my own life: giving birth!
For the longest while I really wanted to have a little bird themed party as Adelaide is really interested in birds. But my brain kept coming up with more and more bird party ideas and I found myself becoming overwhelmed with them. I finally realised that I needed to simplify my brain (and output) and so I decided to shelve all those bird party ideas for another year.
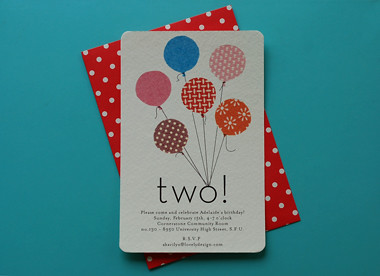
To make these invitations, I first went out to find the envelopes for them. These red and white polka-dot ones I picked up at Daiso for $2 per 15 count. I have found that one of the most important steps to take when designing an invitation is to first find the envelopes for them. What is available - colour, size, material - will dictate what your invitation will be. It is not fun to design up a beautiful invitation only to find you can't get an appropriate envelope to send it out in! Often when I am out and about I will keep an eye out for nice and inexpensive envelopes to pick up and keep around for future events, thank-you's, greetings, and the like.
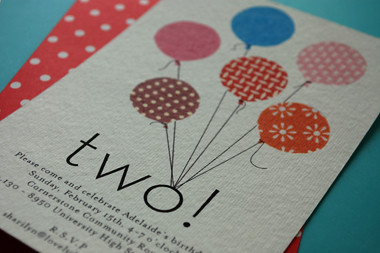
Yesterday afternoon I went through my bin of fabric scraps and selected out many appealing bits (Adelaide helped with this). Using my sharpest scissors, I cut out balloon shapes from the fabric scraps, and then scanned them into photoshop. There we picked out the balloons that turned out the nicest and I began to make an arrangement. When they were all set up I added their 1 pt. strings and ties with the paintbrush tool.
Once my composition was ready, I saved my photoshop file into a .tif and placed it in Illustrator. I do this because I despise working with typography in Photoshop, Illustrator is much better for this kind of work. There I then added the copy, going back to slightly tweak the background image in Photoshop a couple of times until it worked out best for the space. The typefaces are two of my very favourites - Mrs Eaves and Neutraface.
I then printed them out onto watercolour paper using my (Canon Pixma iP4200) desktop printer, trimmed them down using a sharp new xacto blade and metal ruler on a cutting mat, and rounded the corners using my corner rounder.
They were designed, printed and ready to go in only a few hours, and all that's left to do now is to deliver them!


0 comments:
Post a Comment